Creating and editing forms in Process Cloud Service

For whom is PCS?
Oracle Process Cloud Service is a PaaS (Platform as a Service) offering which centers around designing and managing (stand alone) business processes in the cloud. The focus is once again on business analysts and other non-technical people to automate business processes. Oracle has keyed them “citizen developers”. One of the features is the option to create forms that fulfill the “human task” interaction in the BPM process.
A walkthrough for creating a form
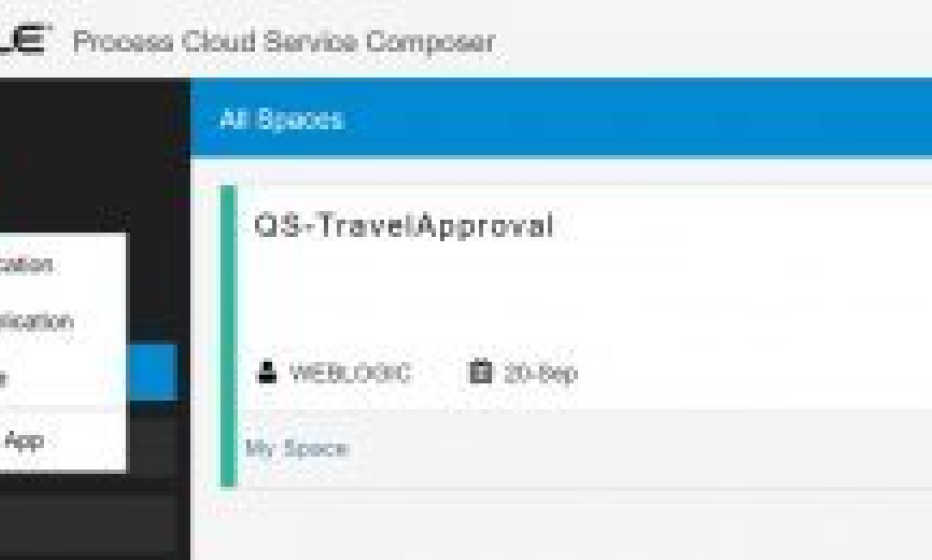
For the sake of ease, login to the Process Cloud BPM Composer. Create a new app and choose “Quickstart App”. Select the Travel Approval.

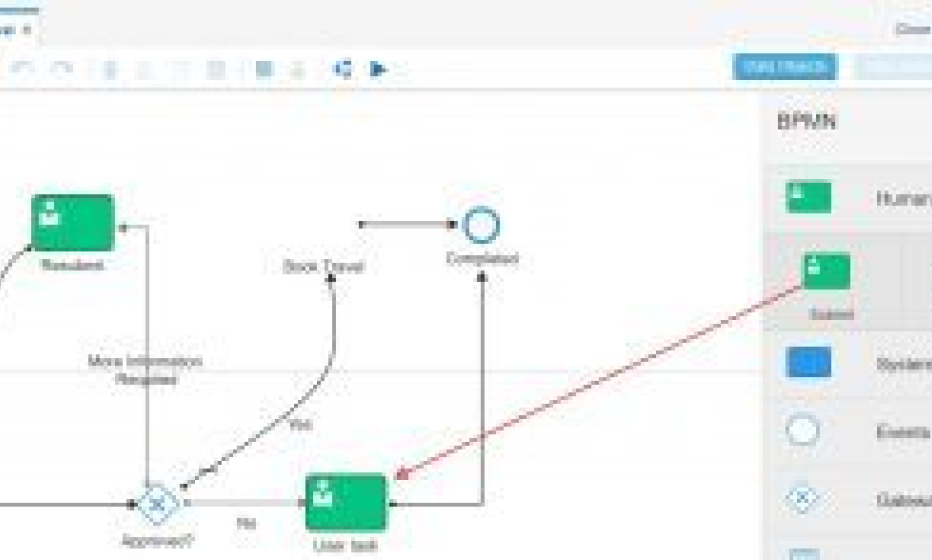
The process is displayed. Drag a human task type “Submit” into the process.

Now click on the app and a blue “hamburger icon” appears. When you click on it the detail view is displayed:

Now press on the + icon to go to the Form page.
Creating a new input form is childishly easy; drag and drop the elements of choice to the canvas and enter the name, description and other basic properties. It’s all very very straightforward.
What is more interesting is the option to add more advanced validations and computations, populate dynamic dropdowns and add all kinds of dynamic validations.
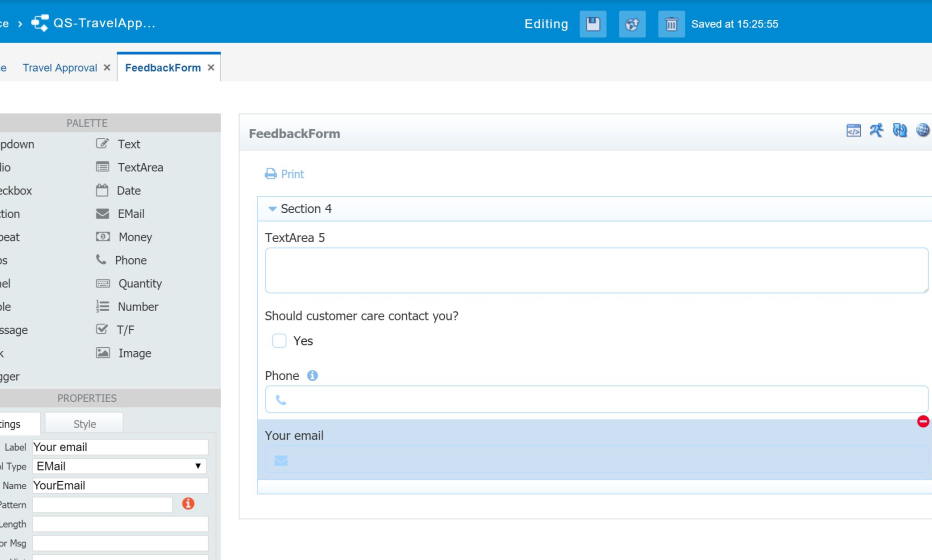
As you can see, I’ve created a simple form with a text area, a True/False (simple checkbox) and a phone and email field. Idea is to hide the contact options when the checkbox is blank, and to validate the input fields and make sure either Phone, Email or both are entered. But let’s start with simple validations.

In the left pane are a number of predefined form fields like Phone, Email or Date. When you select “Phone”, the settings show options for required, maximum length and pattern. Enter 12 in the Max Length and the field will not accept more than 12 characters. Enter a pattern and the field is validated against the pattern on losing focus. Apparently the “standard” regex patterns may be used here. The effect is that, when the pattern is not matched, an inline error message is displayed.
Another nice touch is, that you can choose a “decorator”; a small icon in the field that gives a visual clue to the user about the field’s purpose. The icons are from the font-awesome icon libraries.
During the development phase, press the Preview button on the top right of the canvas (an icon of a running person), and a working preview is presented to you. Very helpful for testing the layout and validations you created.
Saving, deploying and testing
One more thing, the save button is located at the top of the page, in the center. An awkward position for a save button if you ask me.

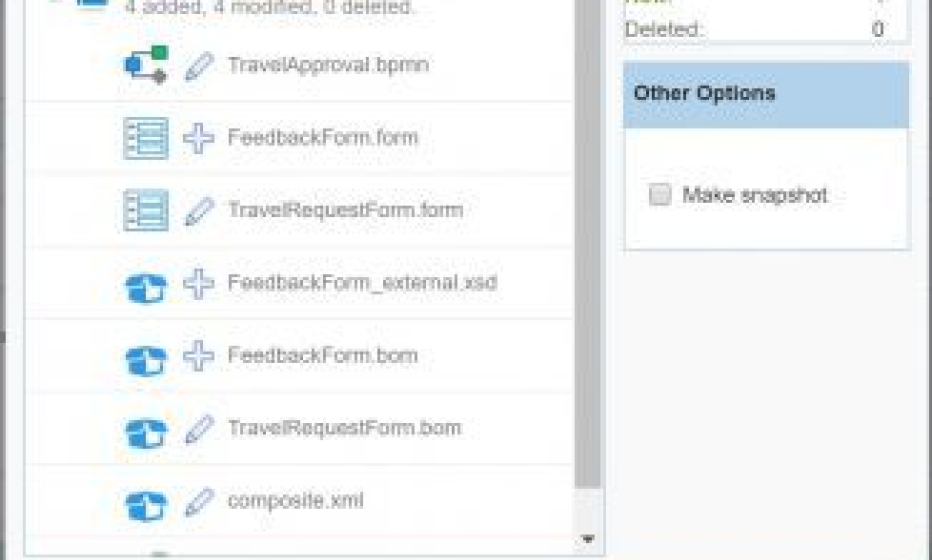
Next to the save button is a "Publish" button, which makes the application available for other developers. You might say it’s a push to the versioning system. Here is also the option for creating a “snapshot”, probably useful for reverting back to in case you messed something up (which is bound to happen as there is no undo!).
I was not able to deploy at first. I received a message that the credentials were not setup correctly. The fix was relatively easy: go to the workspace homepage, choose “Administration” in the top bar, and click on the green “Player” icon. Now make sure you’ve entered your credentials there. It should work now.
Deploy your application by choosing “Test” in the top right, and click “Deploy”. Go get coffee. Click play, and a new page appears with your application. Doubleclick and a new tab opens with a visual representation of your proces. Click the starting point (it has a cleverly concealed play button), and the process starts. The first human task form will display immediately. You can walk through the process now! Congratulations, you’ve succesfully created your first PCS process.
There is much more to see, for instance the option to create complex validations and with JavaScript and model business jects for interaction with other services. More of that in a subsequent article.


