Oracle Process Cloud Service advanced form validation and control

In my previous blogpost I explained how forms in PCS are created and what basic options are available. Now I would like to go deeper into the details of rules and business objects.
Let’s start with rules.
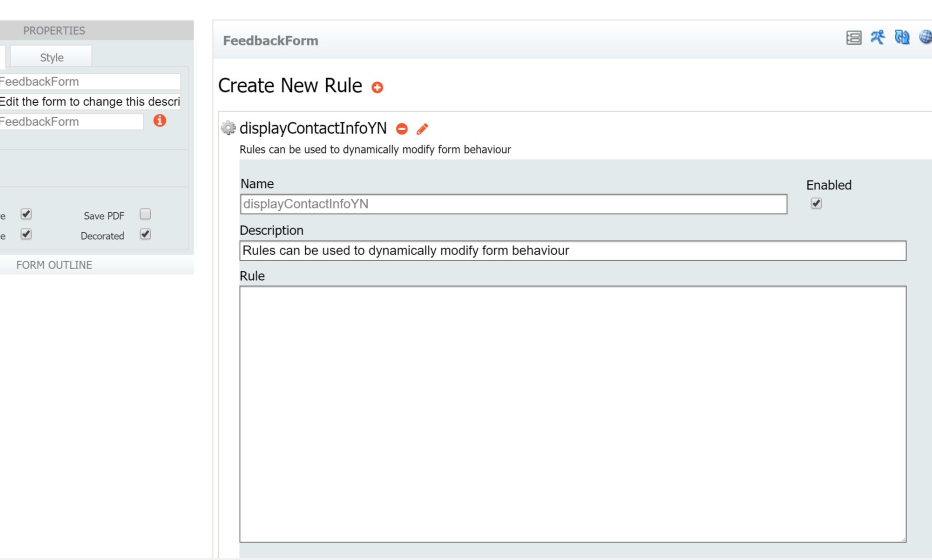
The form canvas has a row of tiny buttons in the top right. The left one switches between rules and the form itself. Click that and the canvas changes to the list of rules (if already created). A new rule can be created here too. The image below shows what you get to see.

This might be different than you expected. Just a name, description and text area for the rule. I hope you like JavaScript, because that is exactly what you are going to use to write the rules. I guess Oracle has embraced JavaScript as language of choice for rules and expressions, as this was introduced in SOA Suite 12.2.1 for BPEL assignments and Service Bus expressions.
Referencing the items on your page has been made easy. Click to open the Form Outline in the left menu, and expand the nodes to view which items you have available and their properties. You can also click the icon next to the attribute to copy the name to your clipboard.
Now back to our original idea; hide and show elements based on a checkbox value, and make sure at least one value in the contact info is entered.
It took me some time to understand the way the checkboxes are defined. The default value for “Options” (which describe the number of checkboxes and their respective values) is something like “Option_1=Yes”. Referring to the checkbox as cc_c[0]=”Yes” did not work though. I finally figured it out when replacing the Option field with “Yes”. PCS replaced it with “Yes=Yes” and then it worked for me. Ok.

The definitive rule contains this JavaScript code:
if (cc_c[0].value == 'Yes') {
  CI.visible = true;
} else {
  CI.visible = false;
}
cc_c is the name of the checkbox. CI is the name of the group that contains both email and phone number fields. Easy! Although I really wonder if “citizen developers” will agree with me.
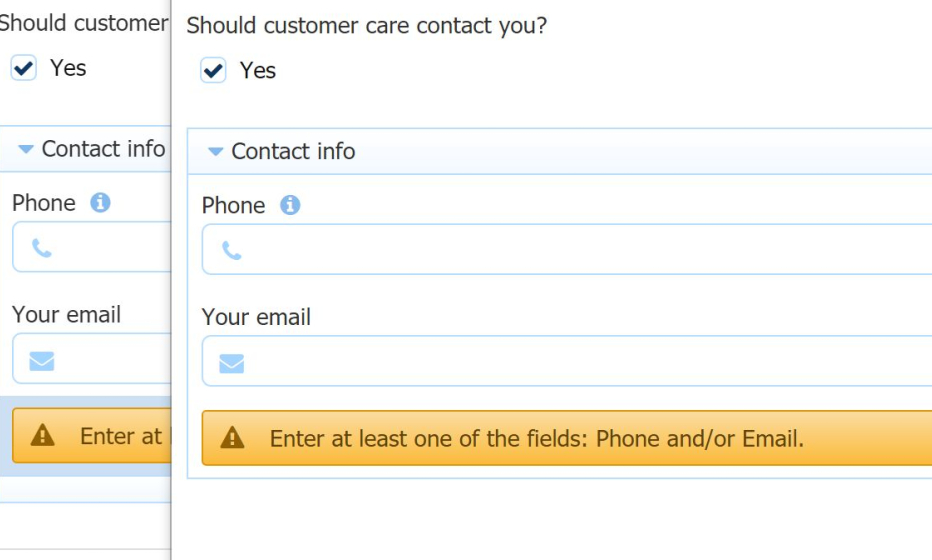
How can we add validations with these rules? PCS has chosen for a rather rudimentary option. You can add a “Message” element that has different type options (info, warning, error, etc) and contains the text of you choice. Let’s say I create a Message element tplMsg with a descriptive text.
Enter the following JavaScript validation:
if ((cc_c[0].value == 'Yes') && ( Phone.value !== '' || YourEmail.value !== '' )) {
  tplMsg.visible = false;
} else {
  tplMsg.visible = true;
}


