Routing and responsive layout with Oracle JET

After creating my first pages with Oracle JET, some database data visualization and an Input Form, I want to create a JET application with navigation and a responsive layout.
Here are some pictures how the application looks like after building it:
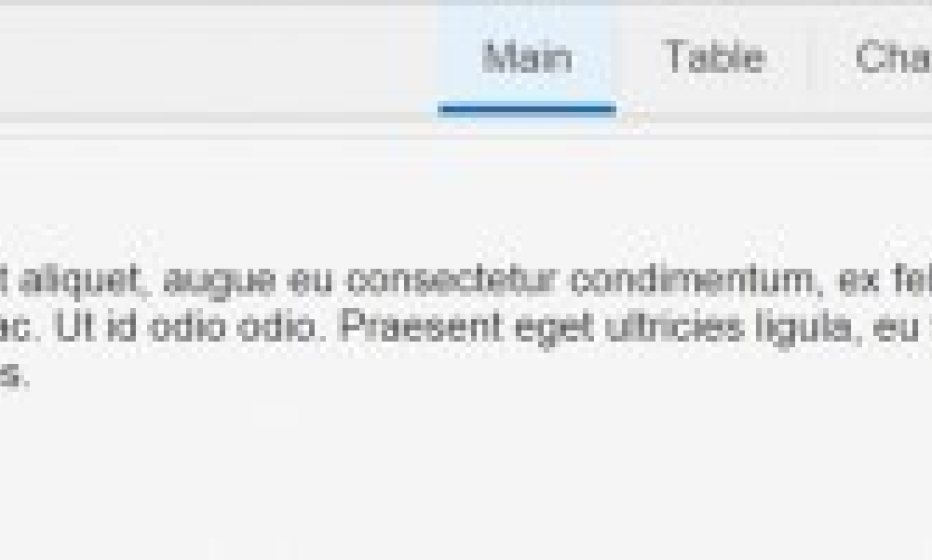
This is the startscreen of the application:
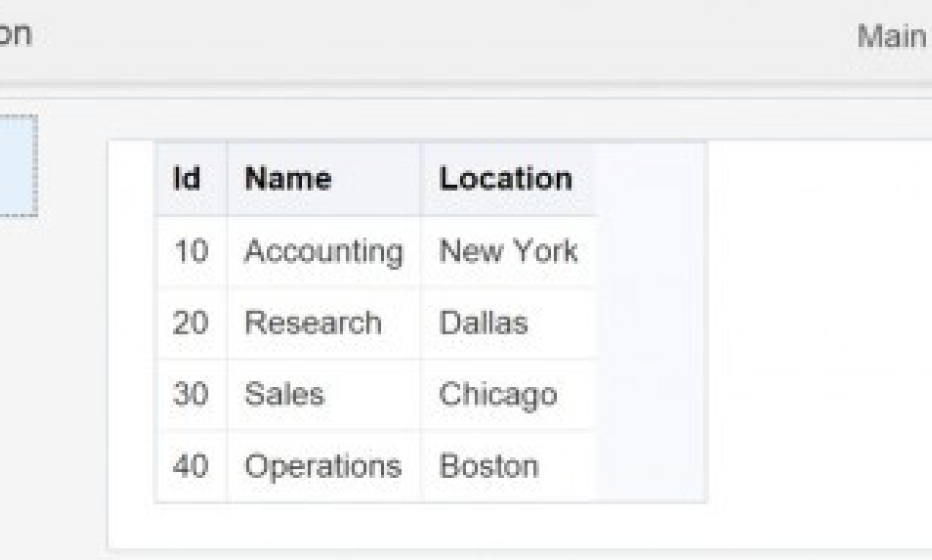
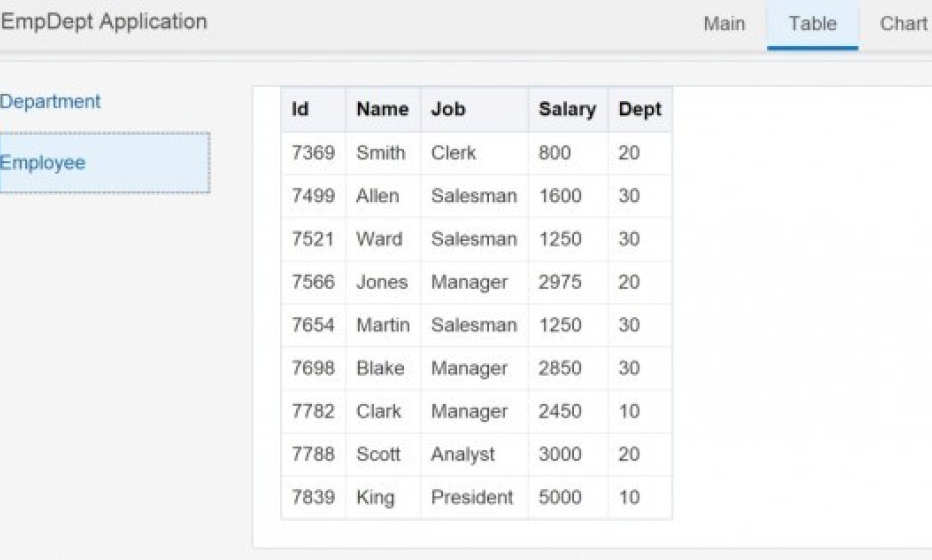
When “Table” is selected, there is a submenu where a user can make another selection:

When a choice is made in the subselect, you see the results:
If “Chart” is selected you see a chart:
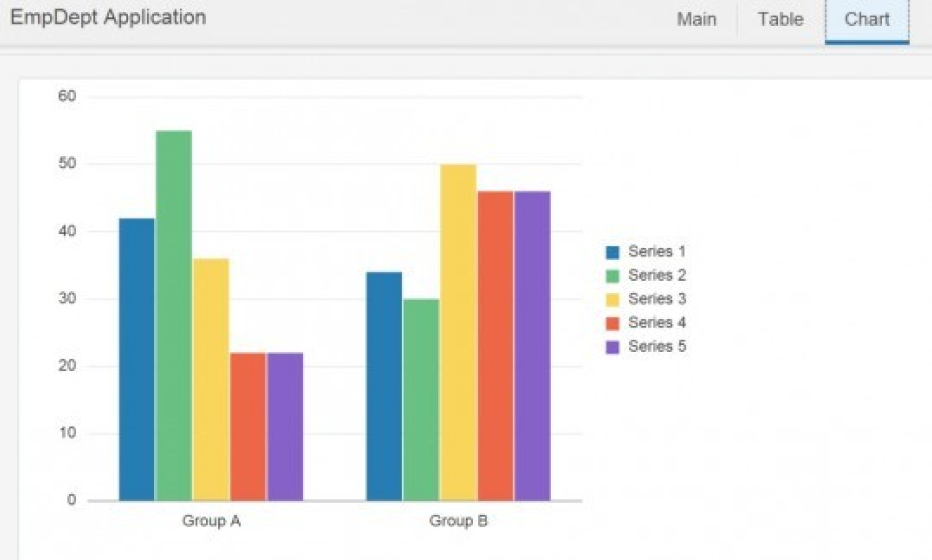
Here are now some screenshots of the application when the browser is shrinked. You see also the “hamburger” icon for a replacement of the menubar.
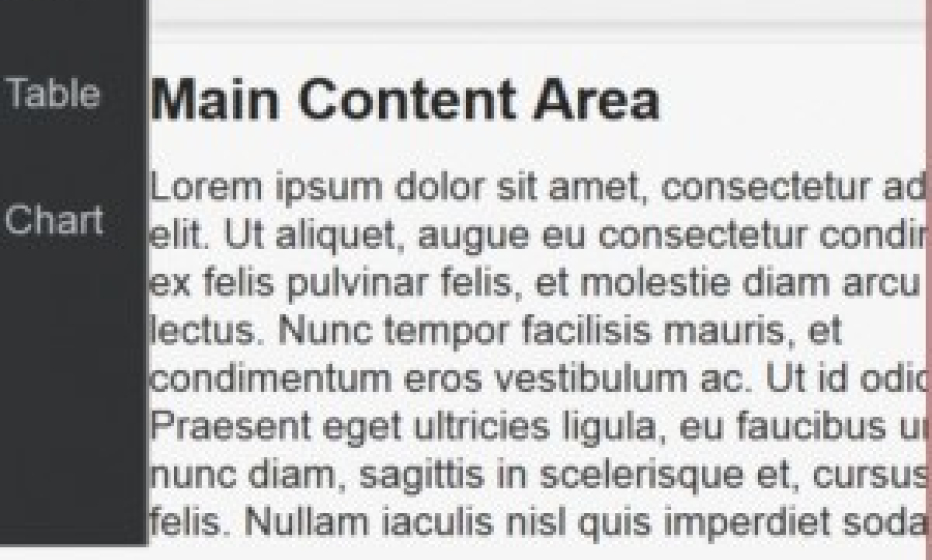
This is the main page:
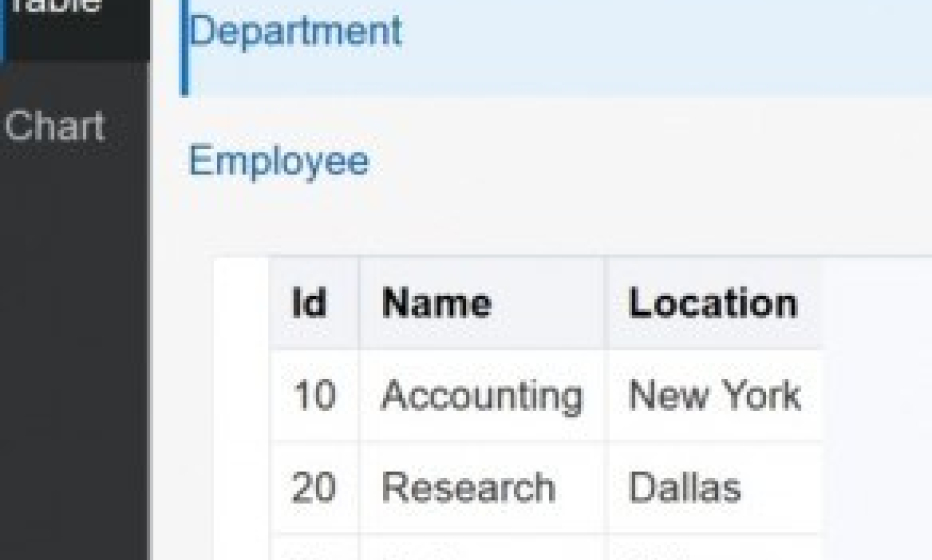
After selecting “Table” and choose the “Department” option, you can see the results are located under the subselect menu:
When the “Chart” is selected in the menu you see the chart. Oracle JET automatically resize the bar’s of the chart:
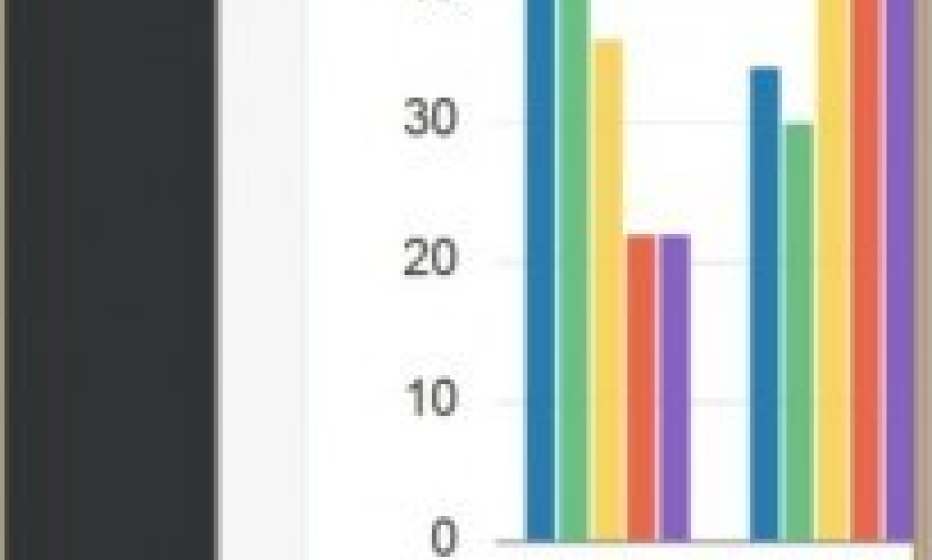
The “Chart” menu option without the menu shown:
Now let’s dive deeper in the code.
<!DOCTYPE html>
<html>
<head>
<title>Emp Dept Application</title>
<meta charset="UTF-8"/>
<meta name="viewport" content="width=device-width, initial-scale=1"/>
<link rel="icon" href="css/images/favicon.ico" type="image/x-icon"/>
<!-- This is the main css file for the default Alta theme -->
<link rel="stylesheet" href="css/libs/oj/v1.1.2/alta/oj-alta-min.css" type="text/css"/>
<!-- These style classes are for demonstration purposes only. -->
<link rel="stylesheet" href="css/demo-alta-patterns-min.css"/>
<!-- This is where you would add any app specific styling -->
<link rel="stylesheet" href="css/override.css" type="text/css"/>
<!-- RequireJS configuration file -->
http://js/libs/require/require.js
</head>
<body class="demo-appheader-offcanvas-pushwrapper">


</div>
<header id="headerWrapper" role="banner" data-bind="ojModule: { name: 'header'}"></header>
<hr/>

</div>
</body>
</html>
This is the code of index.html. In this code you can see there’s a header and a body (content) element. You can also add a footer element here.
In the header binding you find also a viewName with the name ‘offcanvasheader’. This points to the offcanvasheader.tmpl.html. More explanation about oj-module you can find here.
oj.ModuleBinding.defaults.modelPath = 'modules/';
oj.ModuleBinding.defaults.viewPath = 'text!../templates/';
oj.ModuleBinding.defaults.viewSuffix = '.tmpl.html';
oj.Router.defaults['urlAdapter'] = new oj.Router.urlParamAdapter();
var router = oj.Router.rootInstance;
router.configure( {
'main' : {
label : 'Main', isDefault : true
},
'table' : {
label : 'Table'
},
'chart' : {
label : 'Chart'
}
});
var viewModel = {
router : router, optionChangeHandler : function (event, data) {
if (data.value == undefined) {
data.value = 'main';
}
if ('AppHeaderNav' === event.target.id && event.originalEvent) {
router.go(data.value);
}
}
};
$(document).ready(function() {
oj.Router.sync().then(function() {
ko.applyBindings(viewModel, document.getElementById('routing-container'));
});
});
This is the code of main.js. In the index.html file there is a reference to this file.
script data-main="js/main"
In this code the router instance is being created. The “AppHeaderNav” in the code points to the element in the code below.
The
oj.Router.sync()
syncs the page with the choice of the user.
</div>


</div>
</div> <!-- oj-row -->
</div> <!-- oj-col -->
</div> <!-- oj-row -->
</div> <!-- demo-appheader -->
<!-- template for rendering app nav data -->
This is the code of header.tmpl.html
In the ojNavigationList you can find the following code:
selection: $root.router.stateId()
This points to the router in the main.js.
For the “Table” page I used the example which you can find in the cookbook here.
I changed only one thing in table.tmpl.html. That is this:
selection: $root.router.stateId()
For the “Chart” page I also used an example from the cookbook. link.
This is the code (partly) in chart.js:
var viewModel = {
router: undefined,
initialize : function(data) {
if (this.router) {
return;
}
router = oj.Router.rootInstance;

oj.Router.sync();
},
selectHandler: function(event, ui) {
if ('chart-container' === event.target.id && event.originalEvent) {
viewModel.router.go(ui.key);
}
}
};
CreateChart();

return viewModel;
So this is the code for creating a application with a responsive layout and with multiple pages. With the modulair plan you can expand your JET-application very simple. Create an extra page, add the data (for example a REST-service), add the page to the menu and reload.
Also JET supports a responsive layout, it works very easy for different screen sizes. I wonder how Oracle places Oracle JET versus Oracle MAF for mobile devices.
