Manage your database data with Oracle JET

I want to know more about using CRUD (Create, Retrieve, Update and Delete) in a JET-application.
For this I started with a look in the Oracle JET Developers Guide. You can download a complete sample application there which is based on the HR-schema in an Oracle database (link).
In this sample application there are some ID’s shown. I added more functionality to get the sample application more user friendly.
First I changed the JSON-file with the department records to a REST service that connects to the database.
This is simple, just change the URL and contenttype.
I changed this URL to the URL of the REST service I use.
self.serviceURL = 'http://mockrest/stable/rest/Departments';
Also I must change the contenttype because the REST-service I use is based on a ADF-BC component. I changed the contenttype from
'contentType': 'application/vnd.oracle.adf.resource+json',
to
contentType: "application/vnd.oracle.adf.resourceitem+json",
In the sample application the LocationId and the ManagerId is shown.
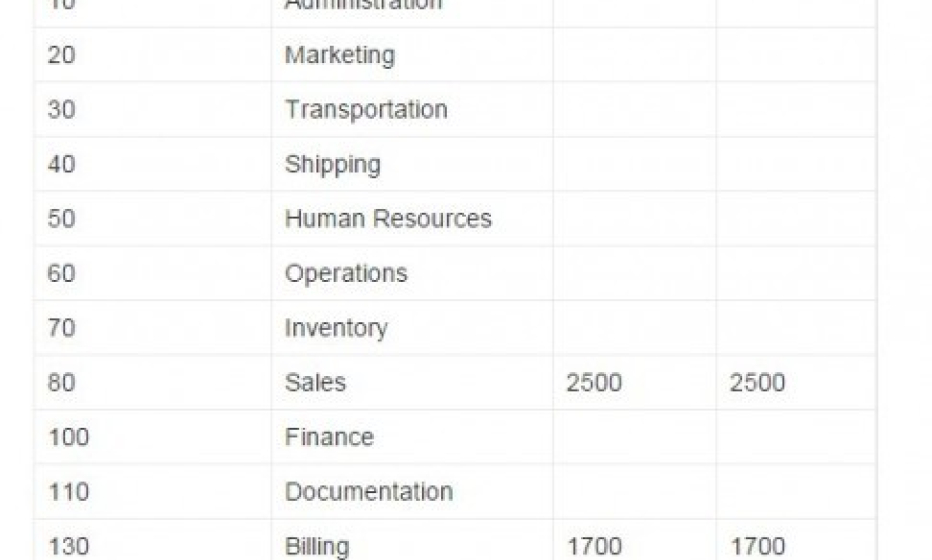
These Id’s are meaningless to an end-user. What I want is that the lastname of the manager and the city of the location will be shown, as you can see in the next image.
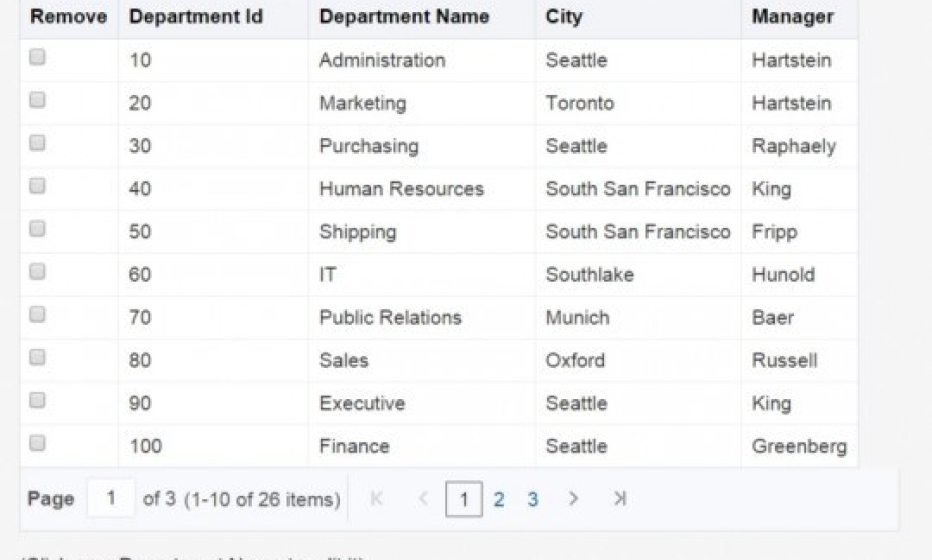
To solve this, I created two simple REST-services. One that get’s the employeeId and the lastname from the employees table. The other one queries the locationId and the city from the Locations table.
You can get the data from the REST-service in this way:
//get JSON data
   $.ajax({
   type: "GET",
   url: "REST-URL",
   async: false,
   beforeSend: function(x) {
   if(x && x.overrideMimeType) {
    x.overrideMimeType("application/j-son;charset=UTF-8");
   }
  },
  dataType: "json",
  success: function(data){
      processLocationData(data);
   }
  });
In this code the data from the REST-service is get, and then the data is passed to the function processLocationData().
This is the code for the processLocationData function:
function processLocationData(data){
   var arr = [];
   var x = 0;
     arr.push({'value': "", 'label': ""});
      for (var x=0;x<data.items.length;x++){
      arr.push({'value': data.items[x].LocationId, 'label': data.items[x].City});
        }
      LocationsKoArr = ko.observableArray(arr);
      LocationsArr = arr;
     };
In this function I loop through the JSON-data and pass the data to two arrays. Before the for-loop I add an empty value and label to the array. This makes an update to null value possible. The LocationsKoArr is needed for the two select options in the add and update option. These options I will explain later on.
The LocationsArr I’ll use in the following function:
function getCityFromId(LocId){
         if (LocId){
            for (var x=0;x<LocationsArr.length;x++){
                if (LocationsArr[x].value== LocId) {
                 return LocationsArr[x].label;
                        }
                 }
         } else {
            return LocId;
          }
       };
In this function I return the City that corresponds with the LocationId. If the LocationId(LocId) is empty, the empty value is returned.
The function getCityFromId will be used in the function parseDept that is used to fill the collection.
The collection is being used to fill the table.
function parseDept(response) {
                    return {DepartmentId: response['DepartmentId']
                           ,DepartmentName: response['DepartmentName']
                           ,LocationId: getCityFromId(response['LocationId'])
                           ,ManagerId: getLastNameFromId(response['ManagerId'])
                          };
                };
It’s very easy; just add the functioncall to the response.
This is how a selection of a location looks like:
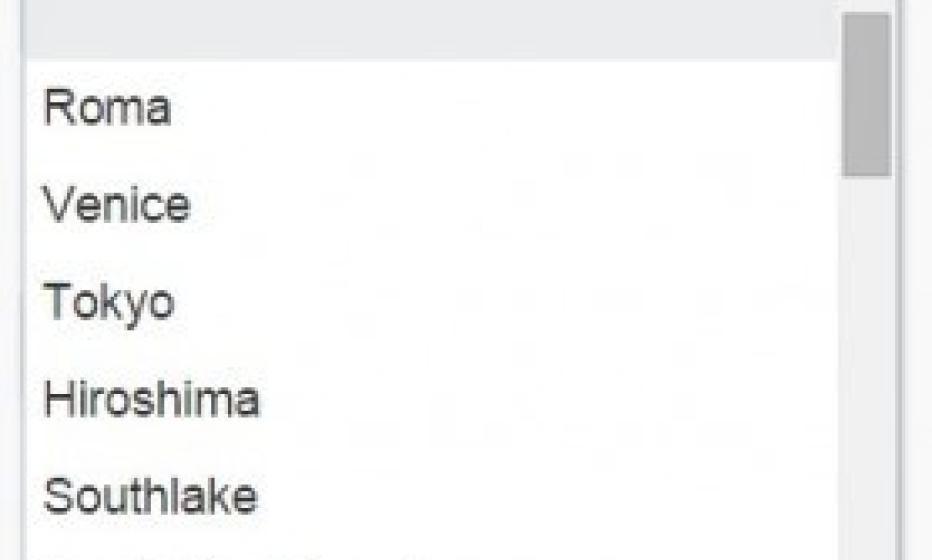
The selection is filled in the following way:
 <select id="SelectLocation"
    data-bind="ojComponent: {component: 'ojSelect',value:SelectLocationValue}">
    <!-- ko foreach: LocationsKoArr -->
      <option data-bind="value:value, text:label"></option>
     <!-- /ko -->
  </select>
As you can see the LocationsKoArr is used here. The same also applies to the data regarding the Employees.
Add a department
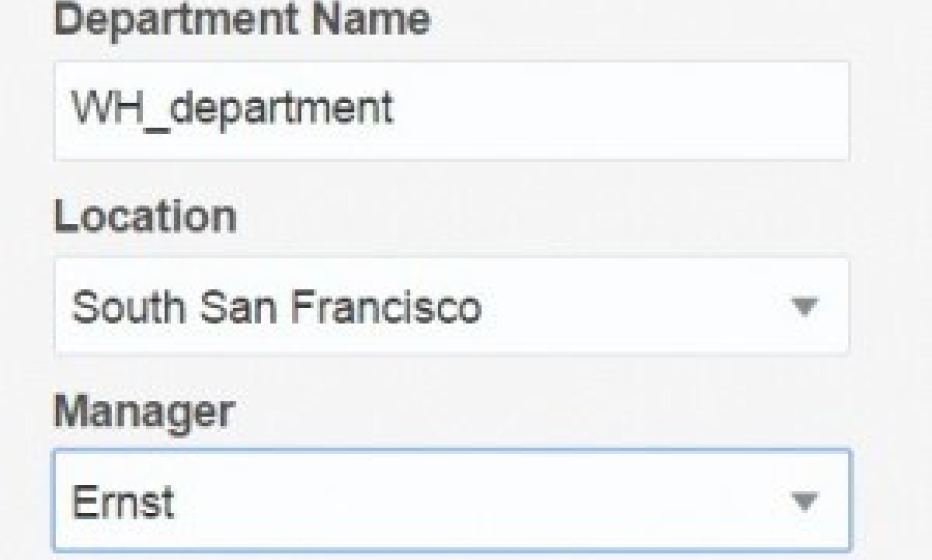
When a department is added you can choose a location and a manager. These two selection items are based on the two arrays which were mentioned above. In the two selection items the label is shown in the selectboxes and the value can be read through self.SelectLocationValue().
The ID of a new Department is added in the database with a sequence and a trigger.
When the data is succesfully saved in the database, a dialog is shown.
And when you scroll through the departments you see the new added department

Update a department
When you want to update a department you can click on the deparmentname. Then a dialog window is opened
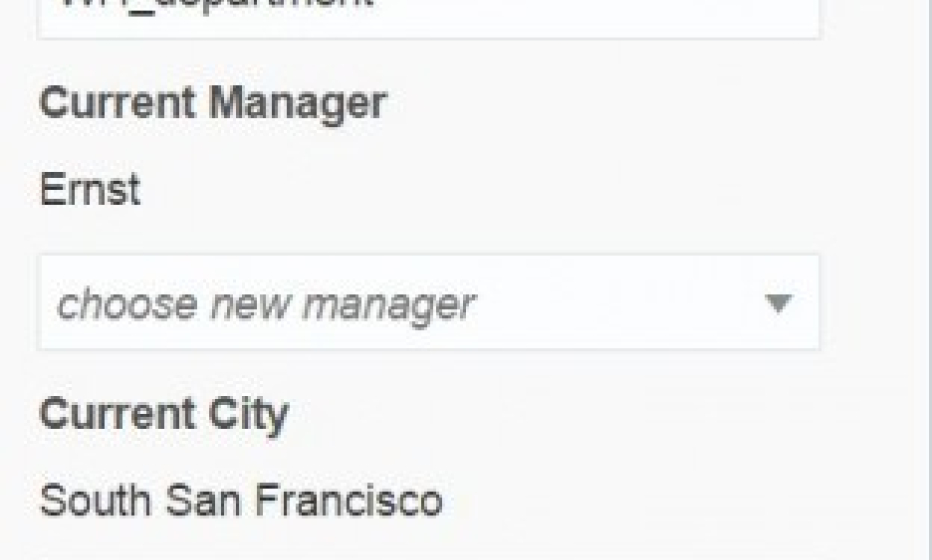
In this window you can see the current name, current manager and the current location. These two selection items are also based on the two arrays which were mentioned in the beginning of the article.
Delete a department
To remove a department the sample-application has a very good implementation. Just select the checkbox
And then click the “Remove Department” button.
