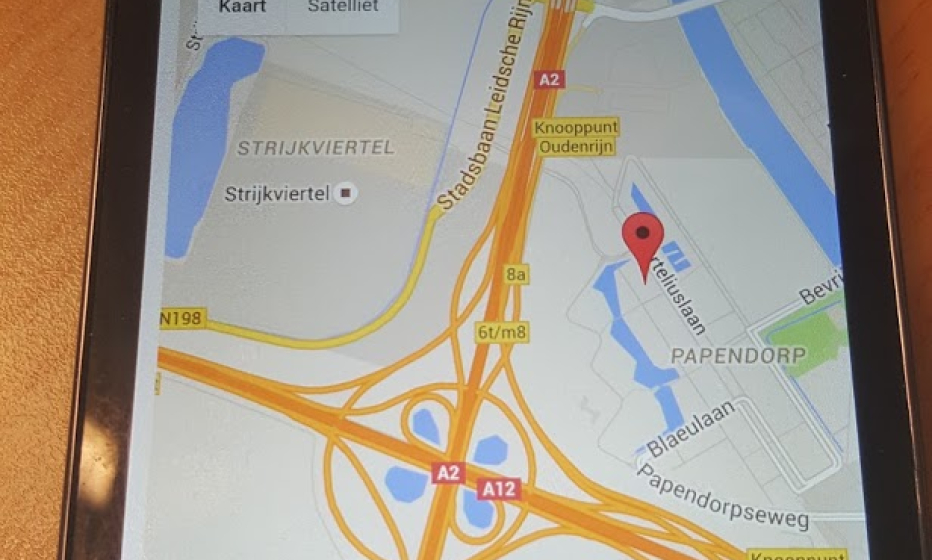
Integrate Google Maps in a JET 2.0 hybrid mobile application

Last week Oracle JET 2.0 is released. One important feature is hybrid mobile development. A while ago I created an Oracle JET application where Google Maps is integrated.
Now I want to show my current location in Google Maps on my Android Phone. For this I must use the GPS function of my phone.
So let’s start. First create a new JET hybrid mobile application.
After successful creation, we must add the cordova plugin to get the GPS-location. At this location you can find more information about the different type of plugins.
Now let’s create the JET application.
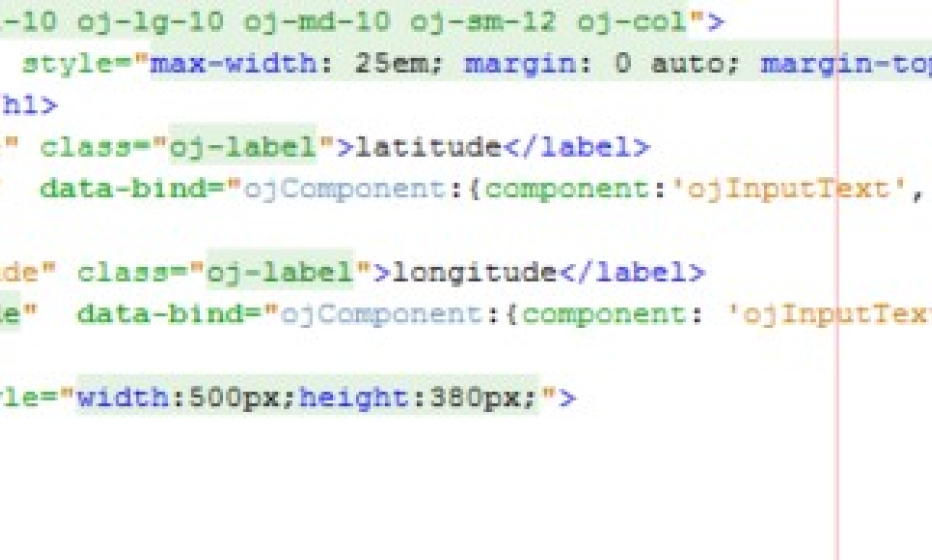
This is a simple layout. The latitude and longitude elements are filled with the properties from the cordova plugin and the location of the maps, is the location of the latitude and longitude.
To use the cordova plugin for GPS, this is the function:
navigator.geolocation.getCurrentPosition(onSuccess, onError);
This is the implementation of the onSuccess function:
var onSuccess = function (position) {

 self.latitudeValue(position.coords.latitude);
 self.longitudeValue(position.coords.longitude);

 self.lat = position.coords.latitude;
 self.lon = position.coords.longitude;

 var element = document.getElementById('googleMap');
 var map;
 var myLatLng = {lat: self.lat, lng: self.lon};
 var mapProp = {
               center: myLatLng,
               zoom: 14,
               mapTypeId: google.maps.MapTypeId.ROADMAP
              };
 map = new google.maps.Map(element, mapProp);
 var marker = new google.maps.Marker({
          position: myLatLng,
          map: map
         });
};
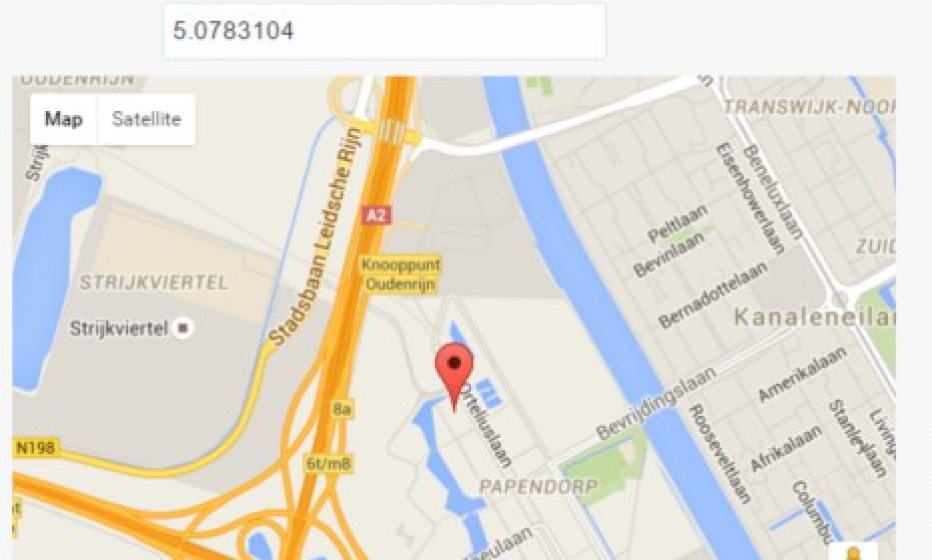
Now you can run the application in Netbeans with Run Project. The application is started in the browser:
Now let’s build for android:
grunt build --platform=android
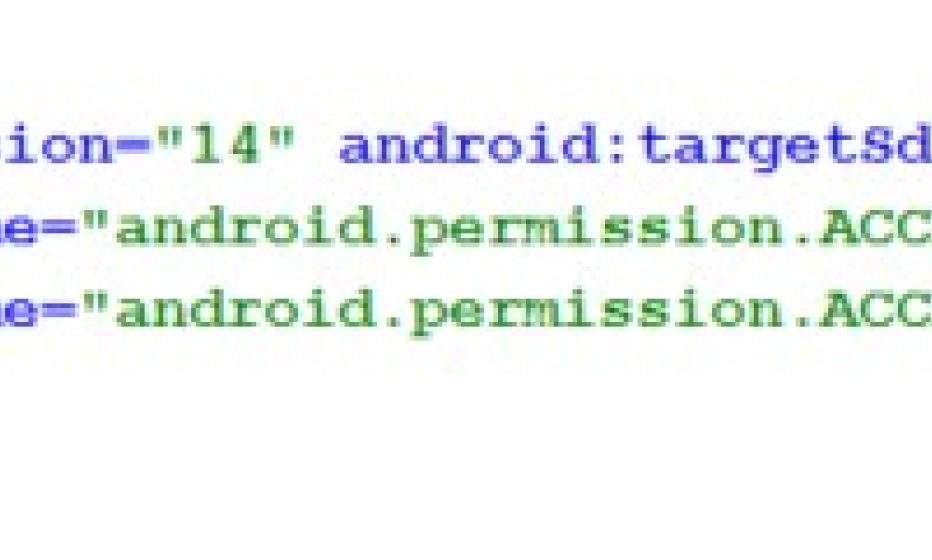
When the build has run successfully, I opened the application in Android Studio. Here I open the Manifest file and you can see the permissions for the GPS functionality.
For this application I don’t use the emulator. When the build has run successfully also an .apk file is created. This is an Android installation package. I copied this file to my phone, and installed it.
